October 09, 2026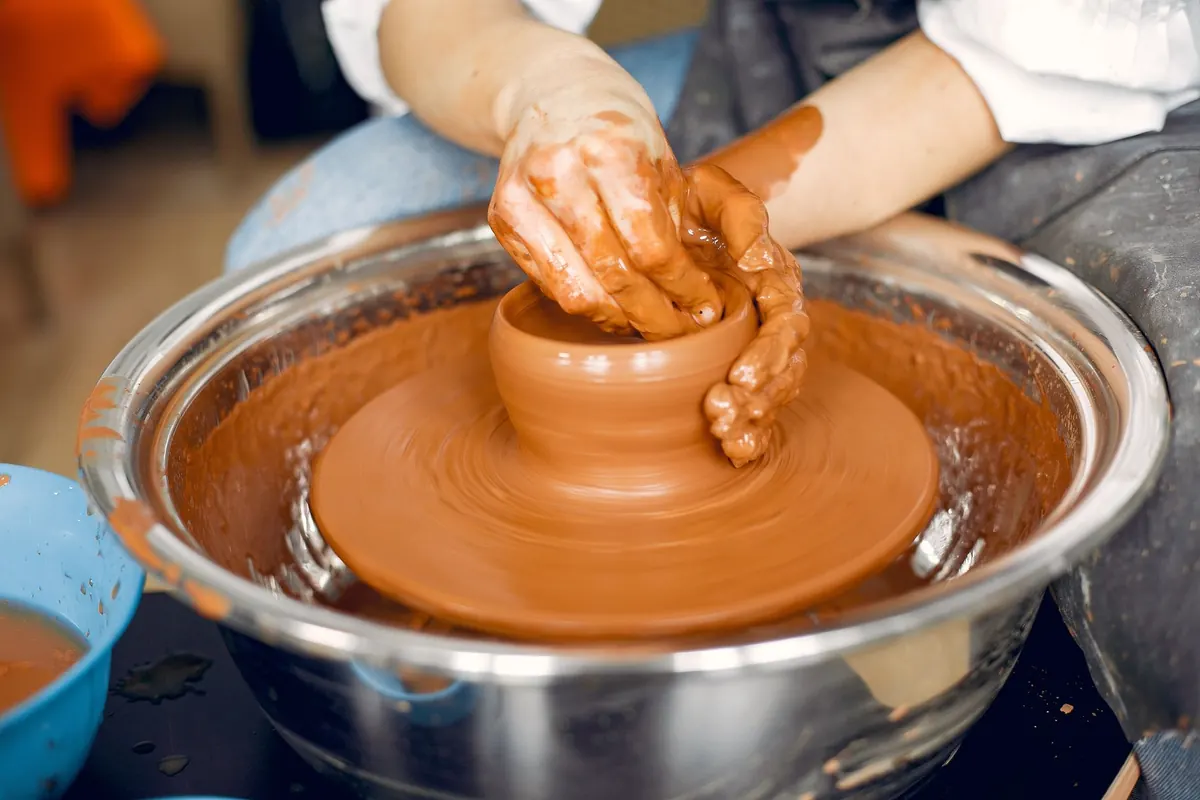
A bag of clay, a sturdy table and a free afternoon are enough to make your first pot. What stops most beginners is the firing. Clay only becomes pottery once it has been through a kiln, and that single fact shapes every decision about how you start: how much space you need, how much you can reasonably do at home, and whether it is worth joining a studio, sharing a kiln or signing up for a class.
Begin with clay, not equipment
Hand-building — pinching, coiling, slabbing — asks for very little. A board, a rolling pin, two wooden guides for even slabs, a sponge, a wooden modelling tool and a cutting wire will take you a long way. Throwing is a different commitment: it needs a wheel, a stool at the right height, plenty of water and months of practice before anything comes off looking deliberate.
Before you buy anything, work out what you will fire to. Earthenware and stoneware behave differently, and glazes are formulated for particular temperature ranges. If you are joining a studio, ask which clay body they use and whether members are expected to buy it through them, which is common and usually makes firing far more reliable. A random bag from a craft shop is fine for testing, but hold off on bulk purchases until you know your firing route.
Setting up a workspace at home
Any corner will do to begin with, but clay dust is the thing to take seriously. Dry clay and glaze dusts contain silica, and it is the fine particles that matter. The habit that keeps studios safe is simple: keep everything wet. Wipe surfaces with a damp sponge rather than sweeping, mop floors instead of brushing them, and never pour clay water down the sink — it settles and sets in the trap like concrete.
A short list covers most of what you need:
- A surface you can wipe down, such as lino, a plastic sheet or an old oilcloth
- Two buckets: one for rinsing tools, one for dirty water, which you leave to settle before tipping the clear water away
- A dedicated apron and towel that never go back into the house
- A tray or shelf for work in progress, plus plastic sheeting to slow drying and stop pieces cracking
- Ventilation, and somewhere wet clay can live without being knocked over
Work wet, clean wet, and wear a suitable mask when handling dry clay or mixing glaze powders. Keep food and drink out of the making area. Use glazes labelled food-safe for anything that will hold food or drink, and follow the maker's firing instructions exactly, since some glazes are decorative only. If you have a lung condition such as asthma, or you are pregnant, speak to your GP before spending long hours in a dusty workshop.
Firing: the choice that shapes everything
A kiln draws a serious current. It usually needs its own circuit, installed by a qualified electrician, plus proper ventilation and clearance from anything combustible. It also claims a chunk of a shed or garage. Before buying one, check with your home insurer and think honestly about how often you will fire. A kiln that runs twice a year is an expensive shelf.
For most beginners, someone else's kiln is the better answer:
- Kiln share with a local potter, often arranged informally through a studio or a makers' group
- Makerspaces and community workshops, where you pay per shelf or per firing
- Studio membership, which bundles kiln access with wheels, tables and glazes
- Firing services, where a studio or individual fires work made elsewhere, sometimes by post
Ask every option the same three questions: which clay bodies do you fire, to what temperature, and what do you charge per shelf? If the answers do not match the clay you have already bought, you have saved yourself a shelf of failed pots.
Studio memberships, community kilns and UK classes
Studio membership
Usually a monthly fee for access to wheels, work surfaces, glazes and kiln space, sometimes with a storage shelf of your own. You get company, quick advice and a reason to turn up. Watch for restricted opening hours, kiln queues in the run-up to Christmas, and limits on how much you can fire each month.
Community kilns and makerspaces
Often run by charities, community groups, colleges or shared workshops. You tend to pay per firing or per shelf. This is the cheapest route to fired work if you want to make at home, but you will wait your turn and you will almost certainly have to use the clay and glazes they fire.
Evening classes and adult education
Still the best value for a beginner: tuition, materials and firing in one fee, with someone on hand to explain why your pot cracked. Local authority adult education, colleges, art centres, pottery studios and community groups all run courses. The popular ones fill quickly, so look a term ahead and ask to join a waiting list.
What it costs, and what to ask about
Costs vary greatly by region and by what a studio includes, so treat any figure you see online as a starting point and ask for a full breakdown: class or membership fee, clay, glazes, tools, firing per shelf, extra open-access hours and storage. Then add the small things people forget — a proper apron, clothes you have wiped clay on, breakages, and the petrol to reach the kiln. If you are weighing up a wheel or a kiln of your own, treat it as a household purchase and check it fits your wider budget before committing.
A sensible first six months
- Book a short course or taster session, six to eight weeks, and use their kiln while you learn.
- Keep a notebook. Record clay body, glaze, firing temperature and what actually happened.
- Make at home with hand-building only, and sort out a firing route before you accumulate a shelf of bone-dry pots.
- Try both hand-building and throwing before deciding which you love.
- Ask studios whether they sell kiln space or drop-in sessions to non-members.
- Only then consider buying equipment, and deal with ventilation and electrics first.
Where to begin this week
Do one thing: find a local class, taster session or studio open day and go along. Take a notebook, ask what they fire to, and ask whether non-members can buy kiln space. Then buy a small bag of the same clay they use, make a few pinch pots at your kitchen table, and let them dry slowly under a plastic bag.
You do not need a shed full of equipment to start. You need clay, a wet cloth and somewhere to fire. Sort the firing first, and the rest of the hobby has room to grow.
Photo: Gustavo Fring / Pexels